- abstract (37)
- Aero India (3)
- Aviation (5)
- balcony (73)
- Books (1)
- Equipment (47)
- Gallery (3)
- Image Processing (16)
- Landscapes (11)
- Parakeets (65)
- Prints (1)
- Still Life (4)
- Time Capsule (65)
- Tips (18)
- Trip Reports (144)
- Workshops (10)
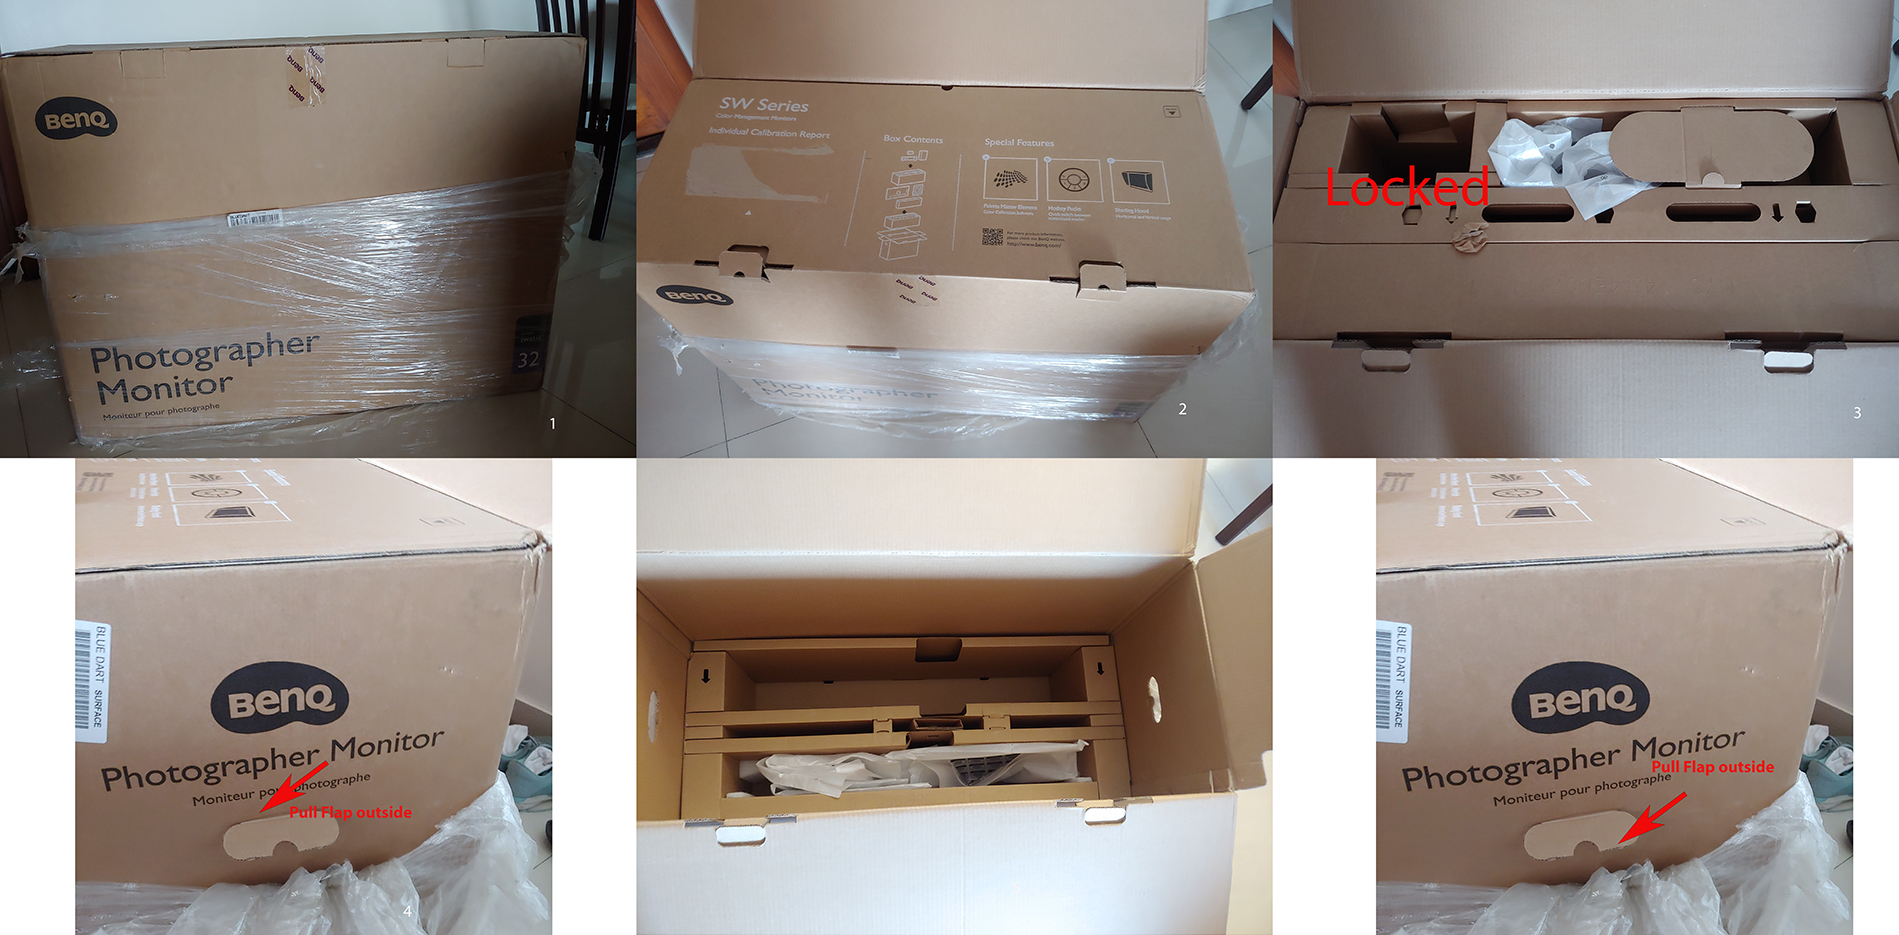
Benq Monitor unpacking unboxing
Nik Filters in photoshop First – Colour EFX Pro 2 Super Cross pop Cross balance – Tungsten 2 Vignette Lens – -50% Second – Ana
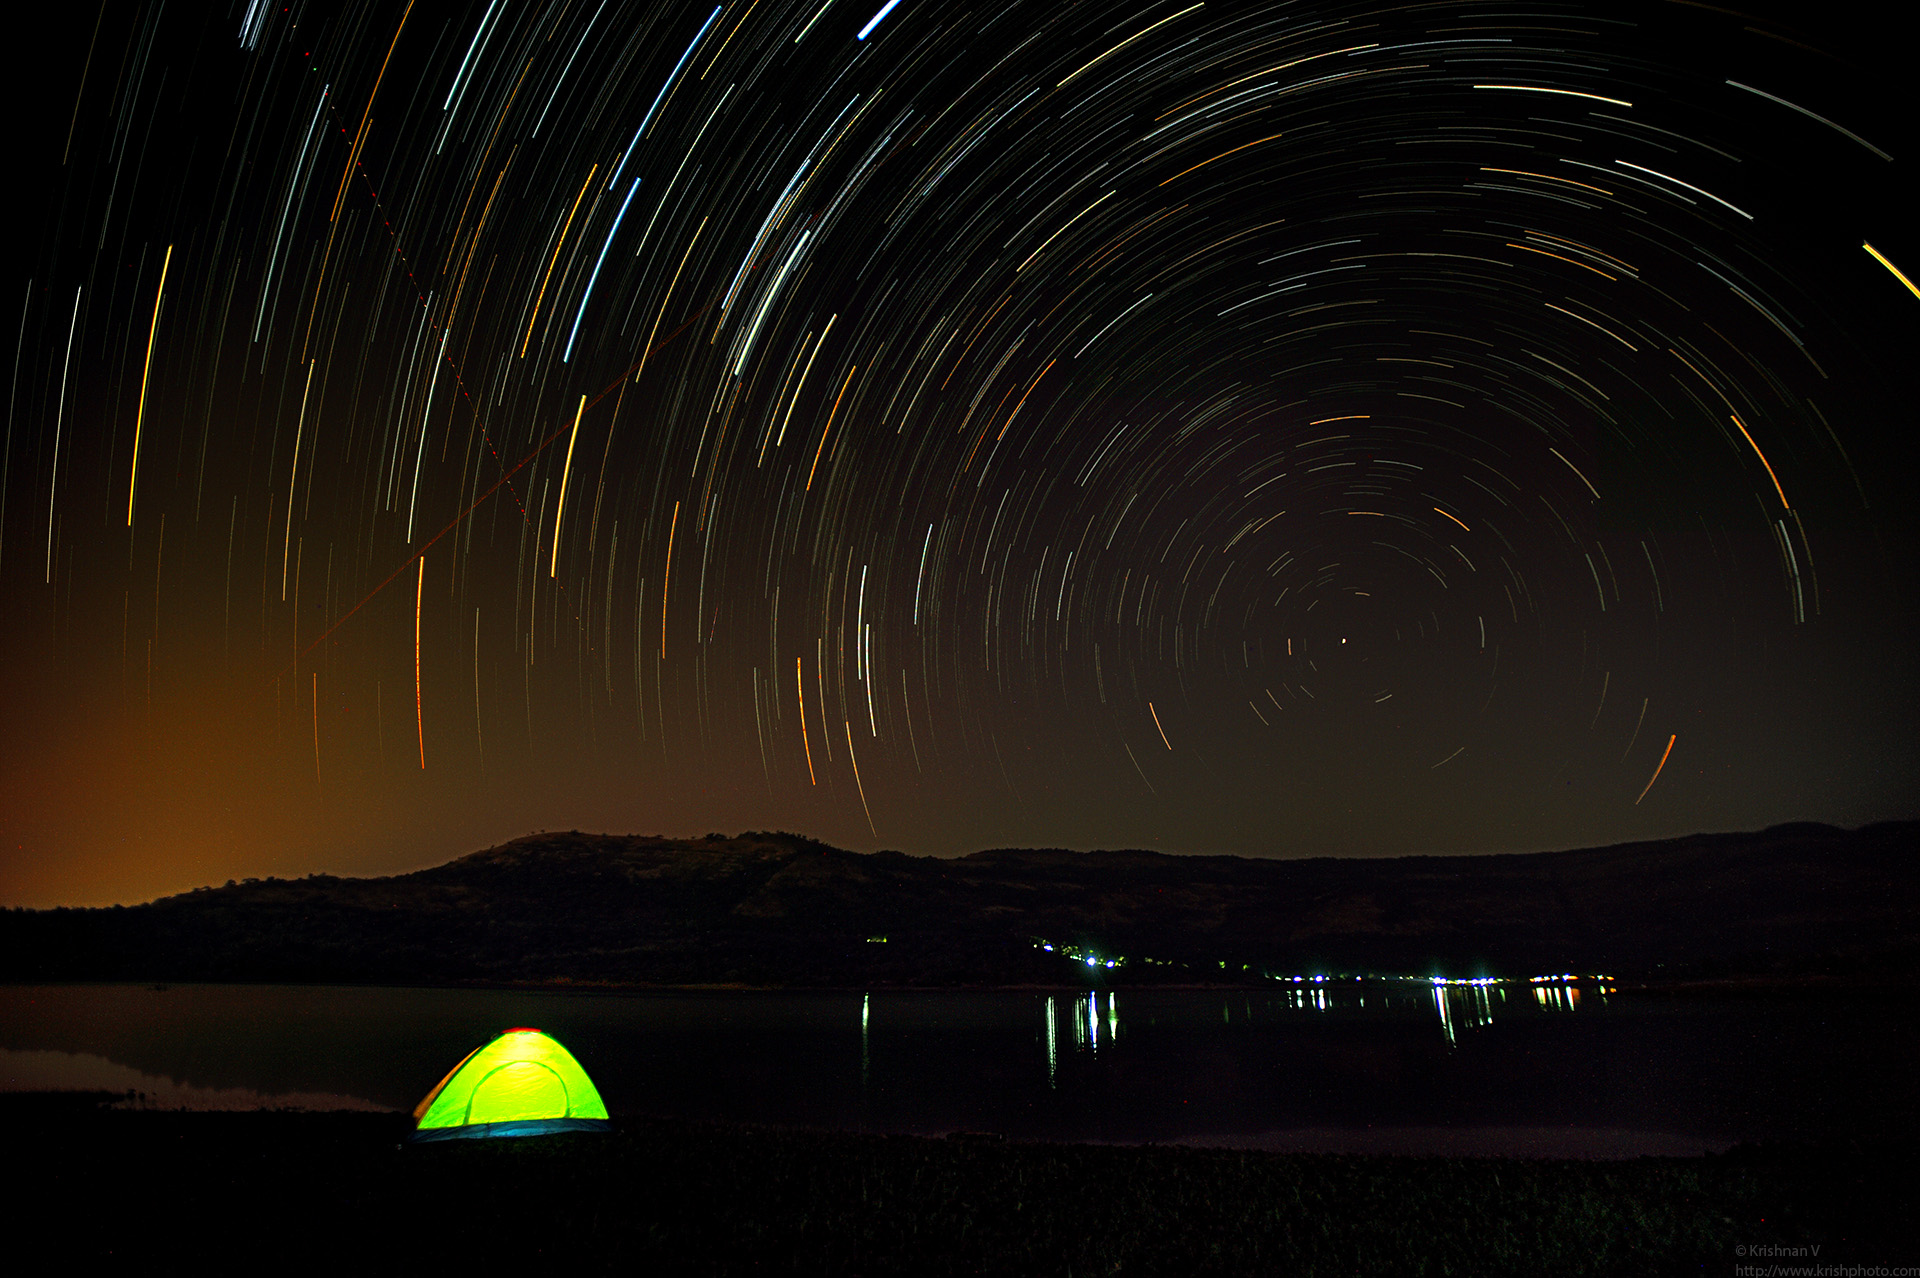
I had tried to shoot a milkyway at Sandakphu but my lack of expertise got me a nice blur of a shot. However this weekend I had a chance to learn some of this techniques f
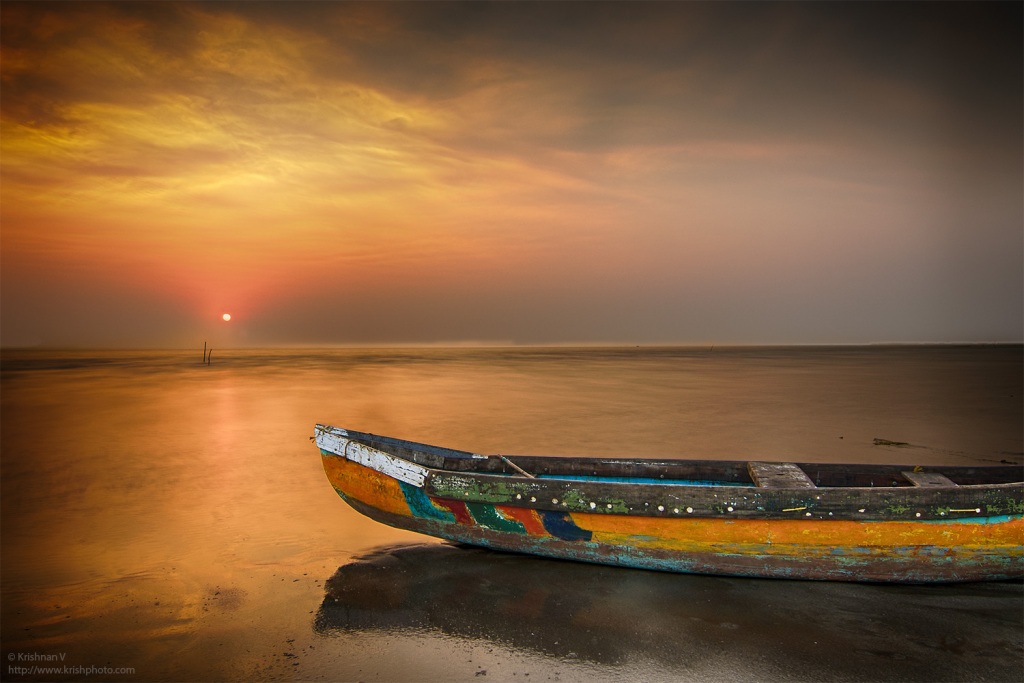
A HDR blend with seven exposures plus a long exposure with a 9 stop ND filter Blending and processing workshop by the master of blending Daniel Cheong
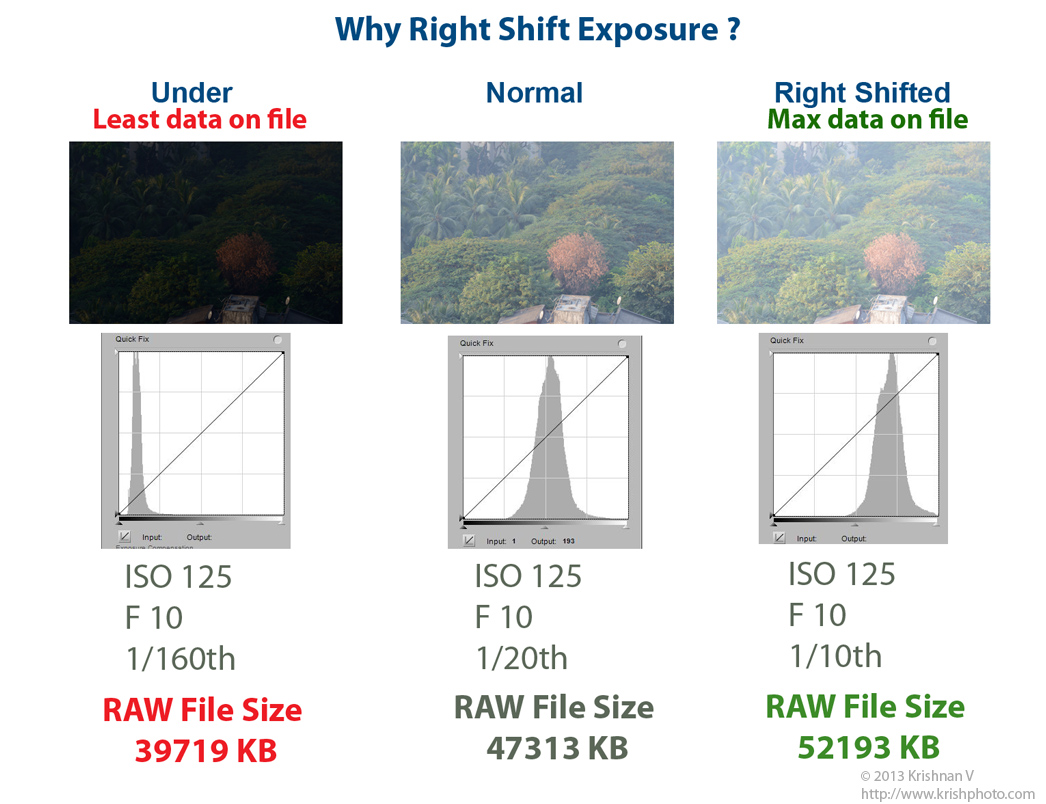
I did a quick test yesterday to determine if the right shift of exposure had any implications to the RAW file size. Sure it does. Under exposure got me a – 39
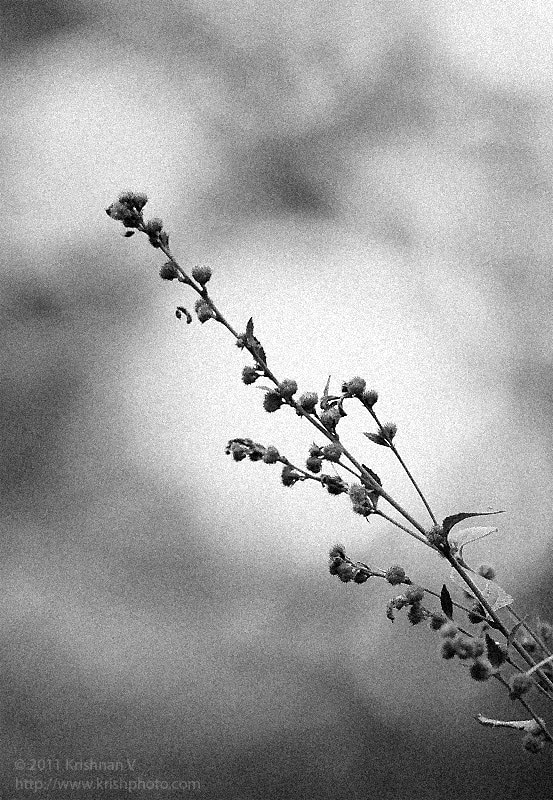
Processed two images from my last years Kanha trip, into B&W. Shot while waiting for tigers to show up…… Elephant Grass (Nikon D2x, 600mm VR
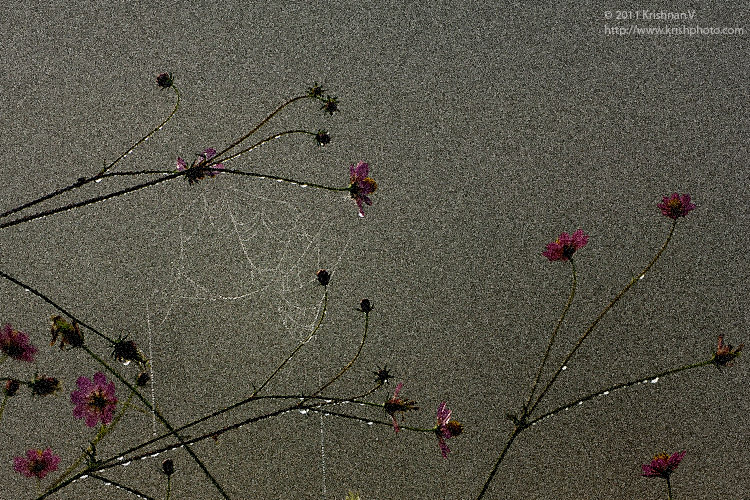
Pretty much as I shot . Just added some noise in post processing. D2x, 600mm VR, ISO 320, 1/800 @ F8 , -1 EV
Understanding Exposure & Colour Luminosity (Linked an old 2007 thread from dpreview) I thought I would link a wonderful thread from a Guru … ” Sensei Ron

I recently got hold of a pen tablet the Wacom Intuos 4 ( Medium Sized which is the PTK-640) Wacom Specifications Definitely much better than using a mouse. It will take a
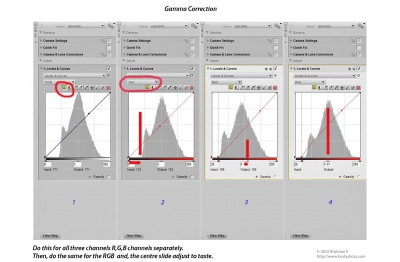
Well here are my basic post processing steps that I follow. I use the Nikon software Nikon Capture NX2. But you can use the same flow in pretty much any image processing
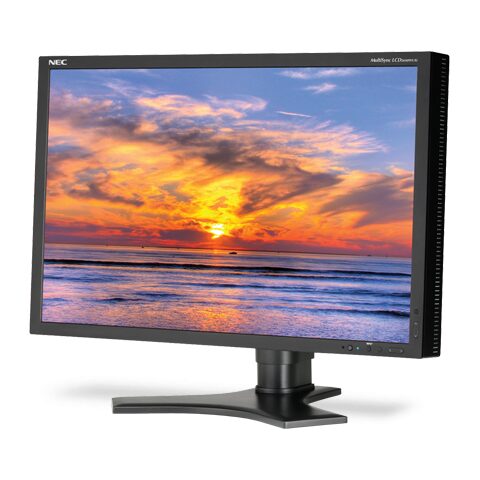
My old CRT was beginning to give some problems so went looking for a replacement. The NEC LCD2690WUXi^2 is a 25.5 inch wide gamut monitor. If you want to get hold o

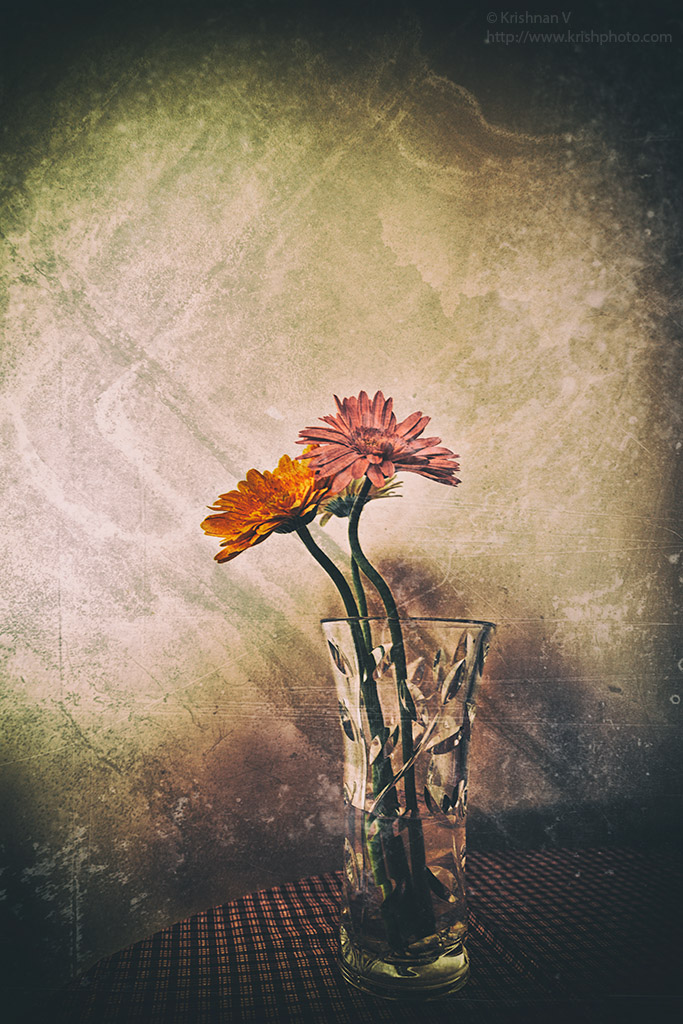
Today, I tried something which I usually don’t . Regular flower macros but I spun them a lil in post processing. And here is the yellow rose 🙂
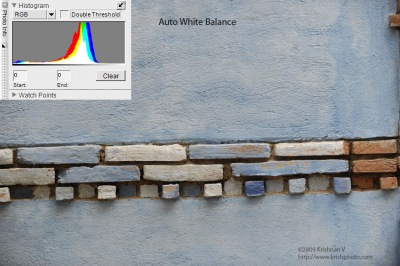
This is why manual White Balance on the camera helps at times. Both identically exposed Nikon D3, ISO200, 1/250th @ F4. Out of the camera jpeg, resized with no othe

I just got back from a trip to Manas & Kaziranga National Parks. One of the things I wanted to try was “Geotagging“. Geotagging helps to write the exact l
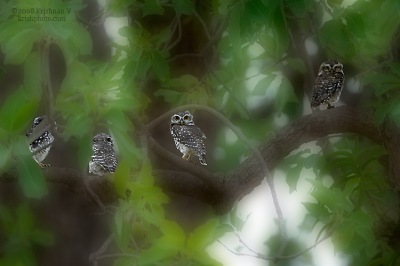
I worked on this pic from Tadoba, so as to blur everything but, the four spotted owlets. And here is another which is not as much blurred.

I use RAW exclusively. 1. Set view to 100% then, turn OFF Sharpening in the Base Adjustment. 2. Base Adjustment> Camera Adjustments> Sharpening set to NONE. 3