- abstract (37)
- Aero India (3)
- Aviation (5)
- balcony (73)
- Books (1)
- Equipment (47)
- Gallery (3)
- Image Processing (16)
- Landscapes (11)
- Parakeets (65)
- Prints (1)
- Still Life (4)
- Time Capsule (65)
- Tips (18)
- Trip Reports (144)
- Workshops (10)
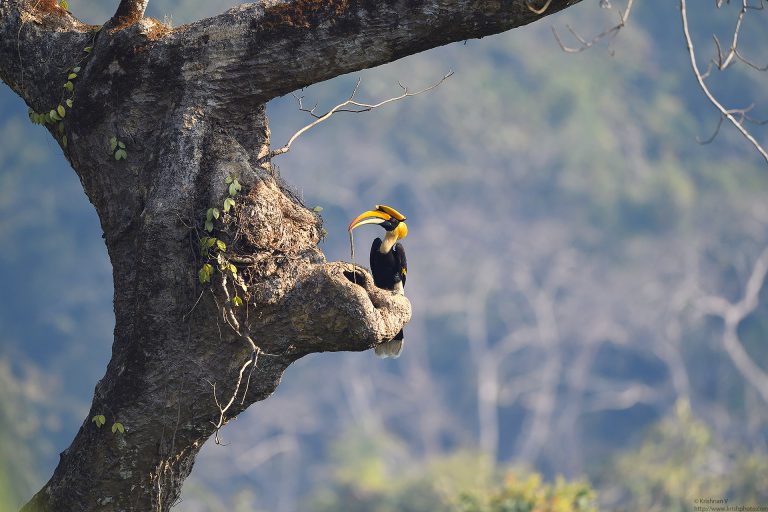
The Mumbai birding group had a few pics of this wonderful bird and I asked if someone knew where to go and see this bird. The Great Hornbill has been on my list for a whi
I have a old iconic Nikkor 500mm reflex mirror lens borrowed from a good friend sitting in my lens lens cupboard. Every time I picked lenses, I will fondly hold the lens
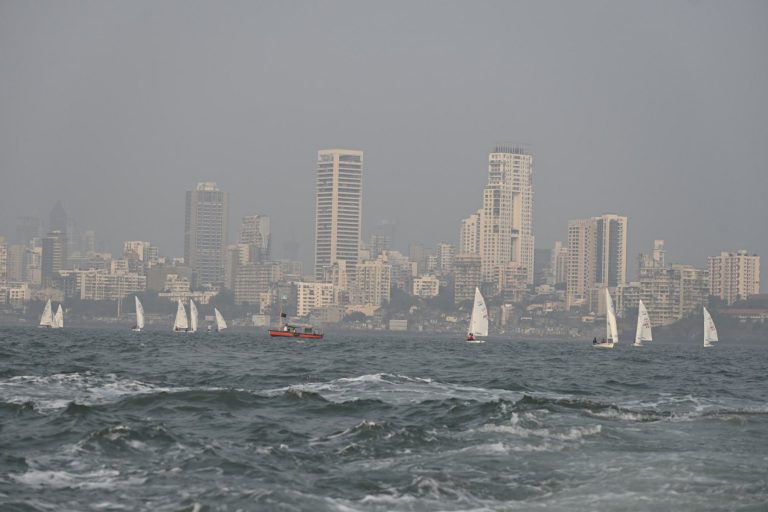
Had an opportunity to shoot some sailing in Mumbai. Great fun and the Nikon Z50 with the kit lens worked really well ! Met up with Glen Rebello who was shooting the event
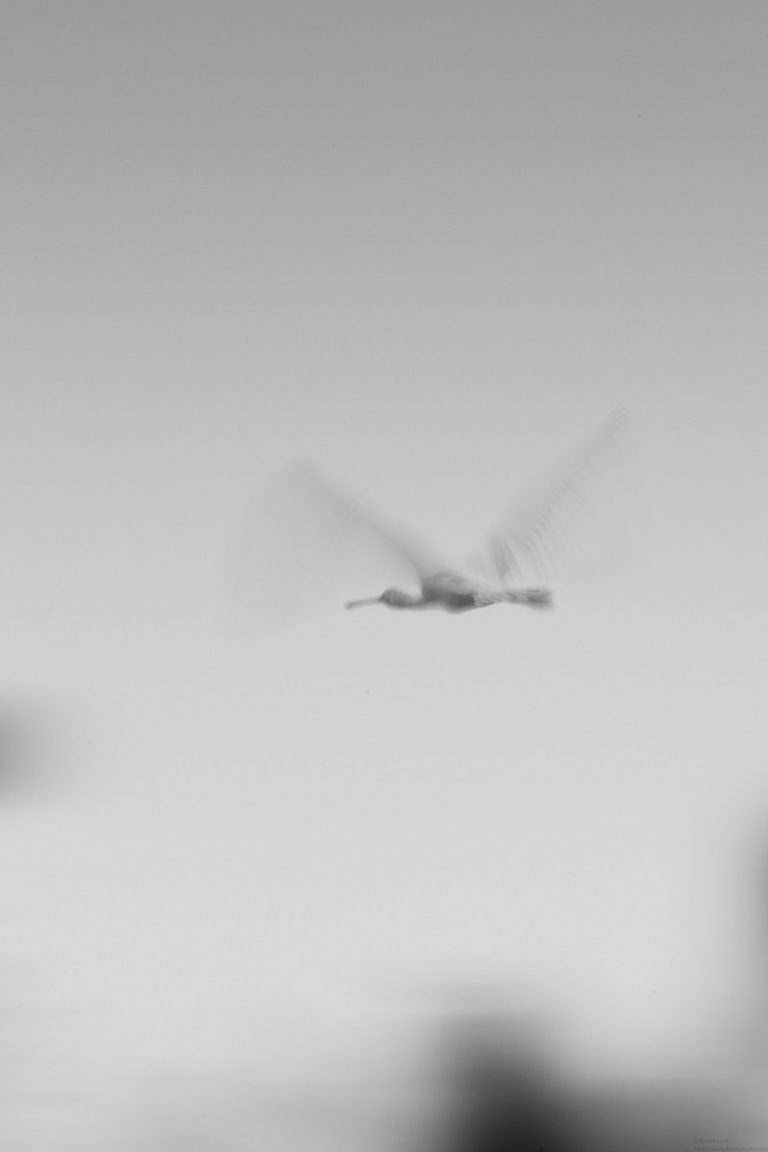
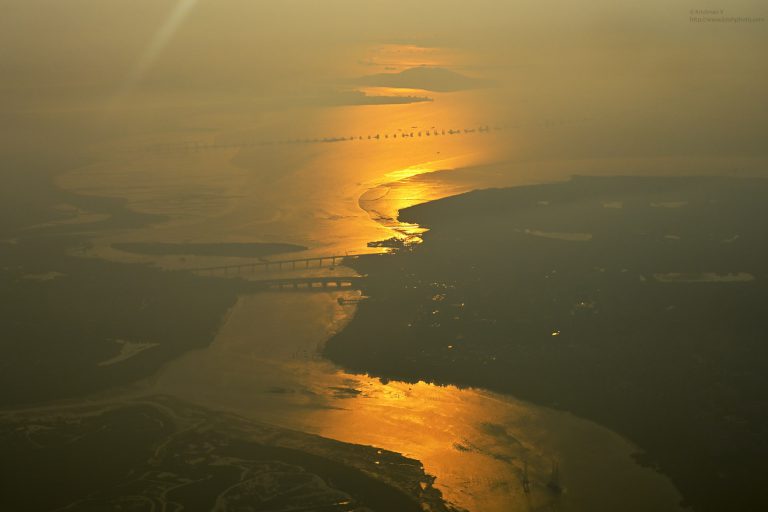
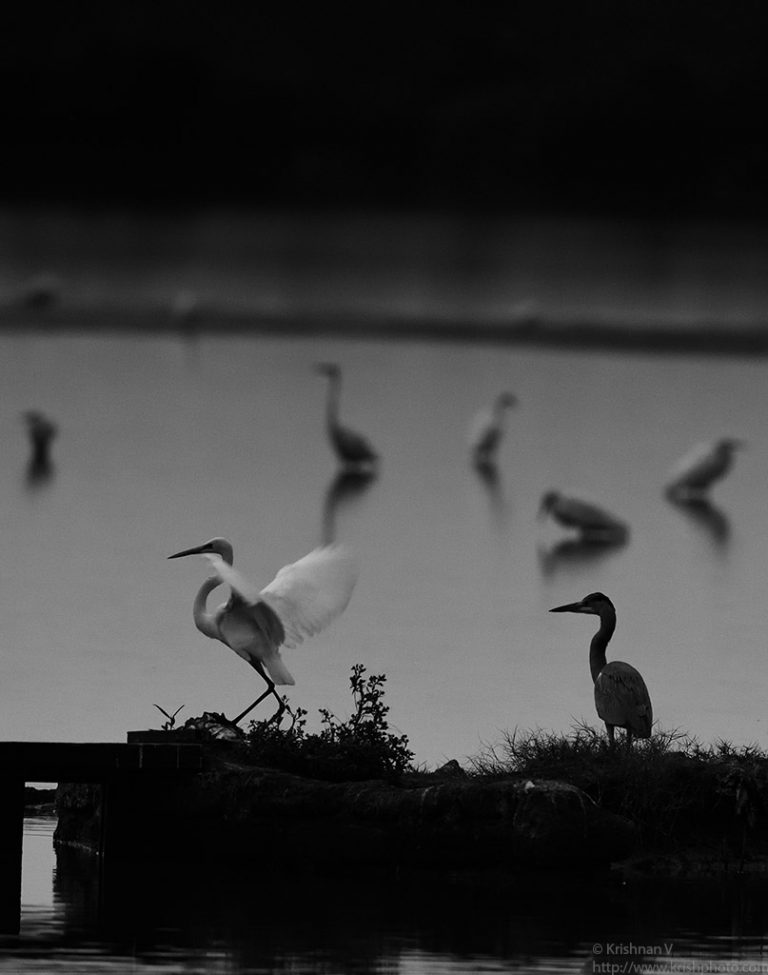
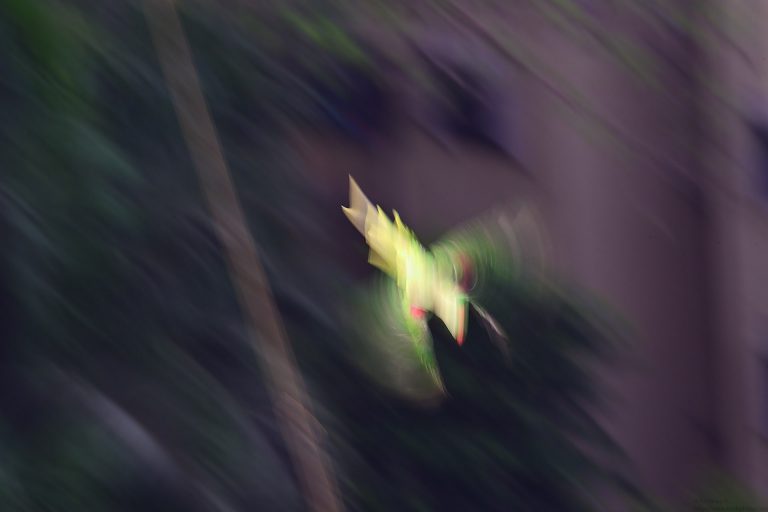
I did a Bhandup after a long time. I just didn’t want the usual shots. So I went in for slow and arty compositions this time. Just no shoot of the usual, was my res
This article first appeared on Nikon Rumours website My casual shooting camera a Sony RX100 ver 1 had gone bust a few months ago. I was looking for a r
Location 1 – DPS Lake view point ( Best for mornings since sun would be from the east and you are facing west) Location 2 – Vanashree View Point ( Best for ev
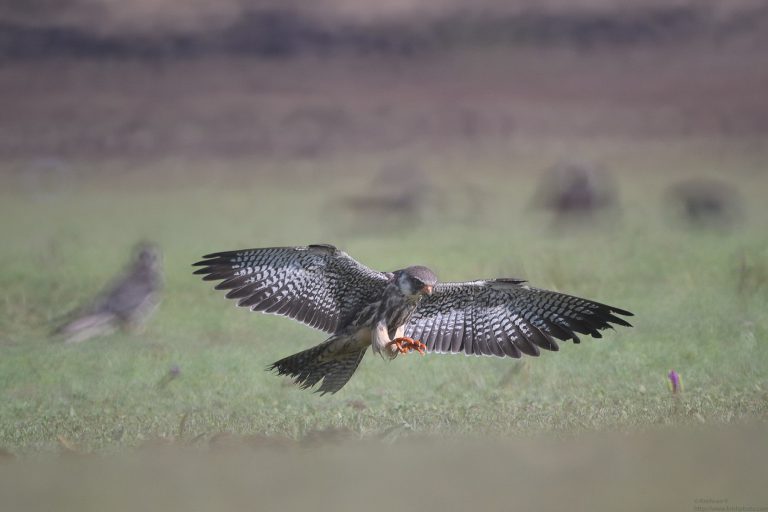
Nikon Z50 (Cropped Body) + 600mm + TC17 Manual, ISO 500, F7.1, 1/25th Manual, ISO 800, F8, 1/125th File Type – RAW Manual White balance 4500K Active D Lighting R